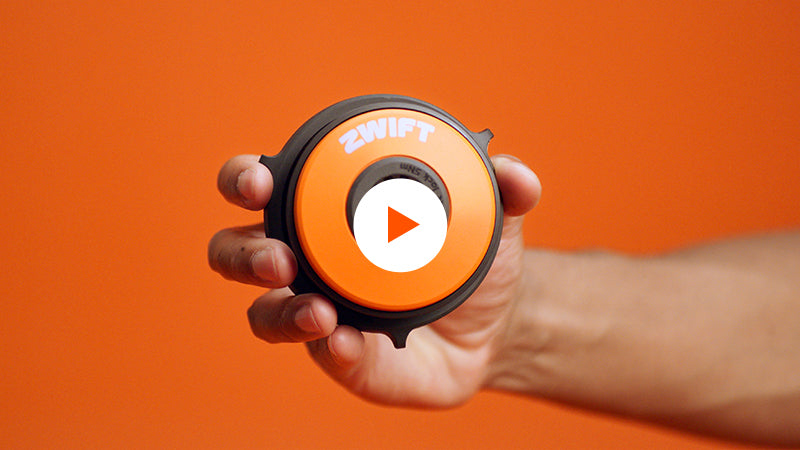

Video 1 of 6
INSTALLING ZWIFT COG (MULTI-TRAINER)
Learn how to install Zwift Cog on a Zwift Ready trainer with a freehub.
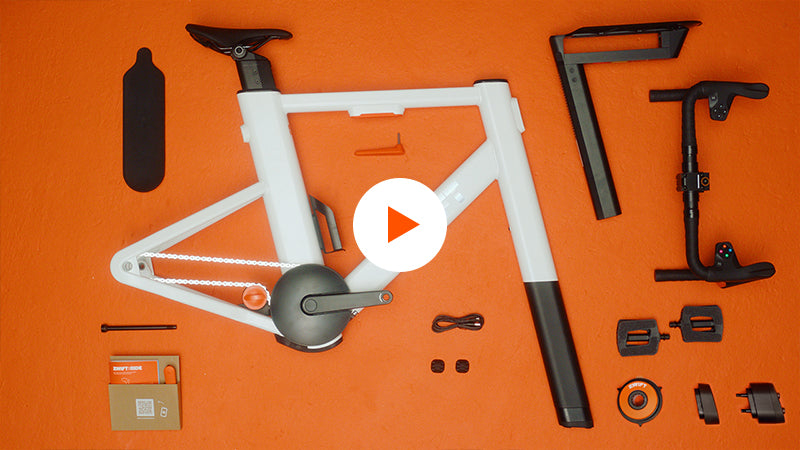

Video 2 0f 6
ASSEMBLING YOUR ZWIFT RIDE SMART FRAME (COG V2)
After setting up your Zwift Ready smart trainer, it’s time to assemble your Zwift Ride Smart Frame.
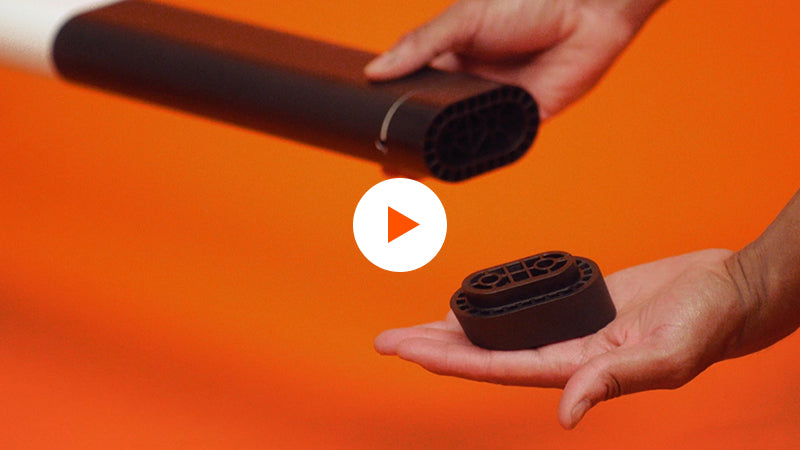

Video 3 of 6
SETTING UP YOUR RISER FOOT FOR ZWIFT RIDE SMART FRAME
With your Zwift Ride Smart Frame mounted, it’s time to find the right size riser foot
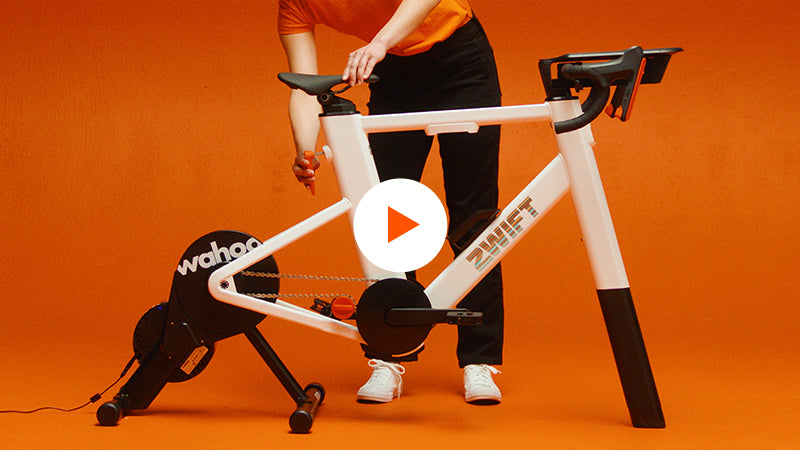

VIDEO 4 OF 6
BIKE FIT
Frame and smart trainer assembled? Now, let’s dial in your bike fit.

VIDEO 5 OF 6
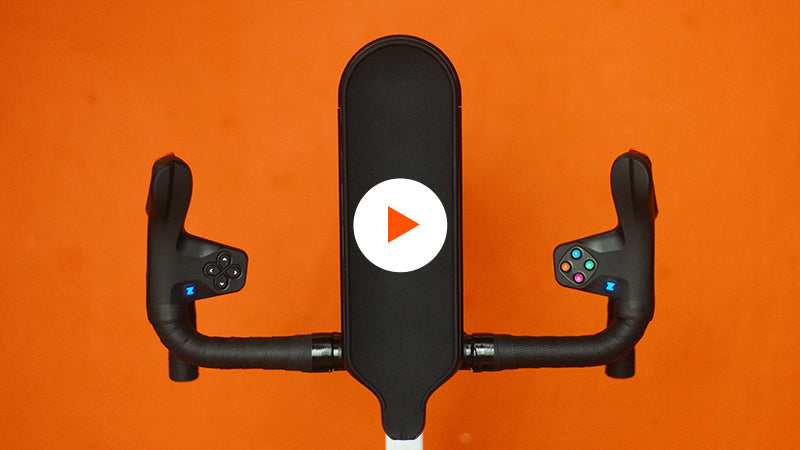
CONNECTING & UPDATING
Now that you’ve dialed in the fit, it’s time to pair and update your devices.
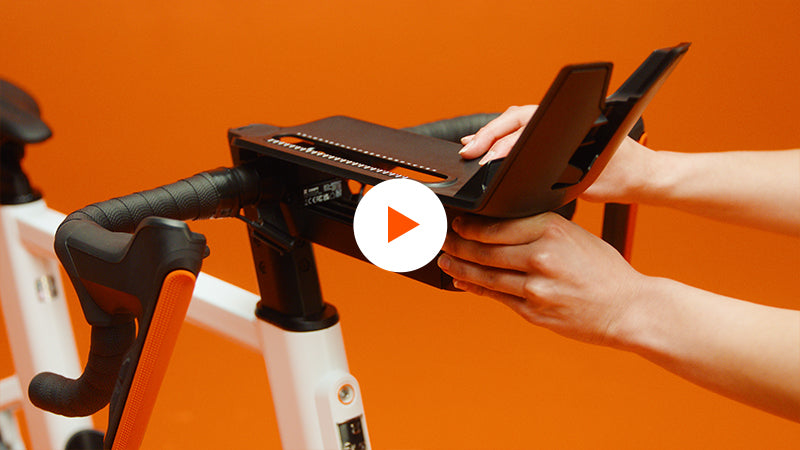

VIDEO 6 OF 6
TABLET HOLDER ASSEMBLY
With all devices paired and updated, let’s install your Zwift Ride Tablet Holder.


