
Video 1 of 6
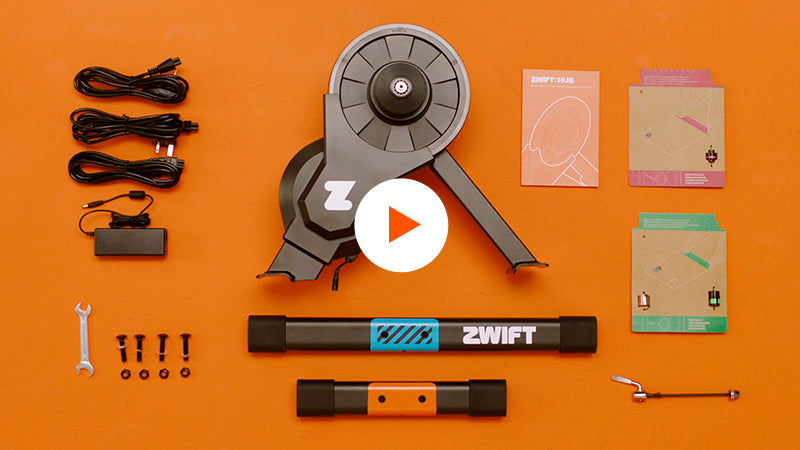
UNBOXING YOUR ZWIFT HUB
This is the first of six detailed instructional videos to guide you through getting set up on your Zwift Hub. In this video, we’ll go over unboxing and what you’ll find in the Zwift Hub Box.

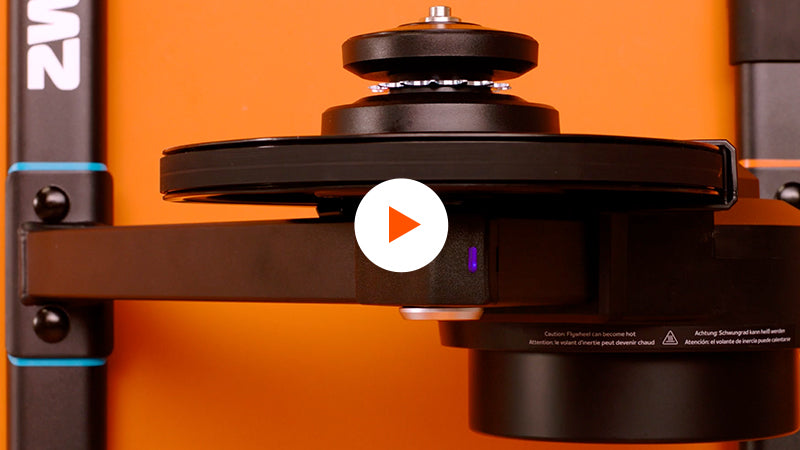
Video 2 0f 6
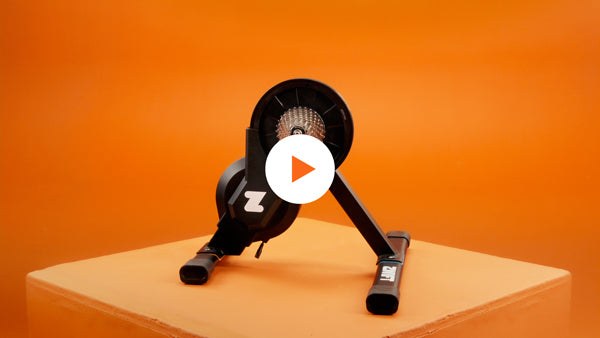
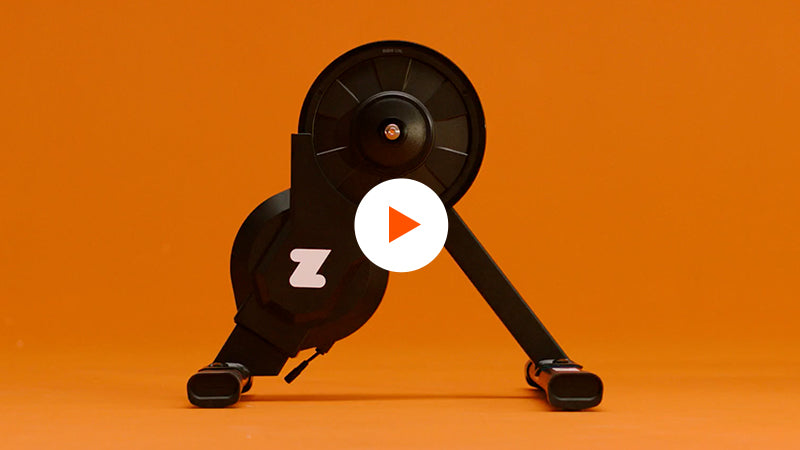
Assembling YOUR ZWIFT HUB
In this video we’ll cover how to assemble your Zwit Hub using the included wrench.
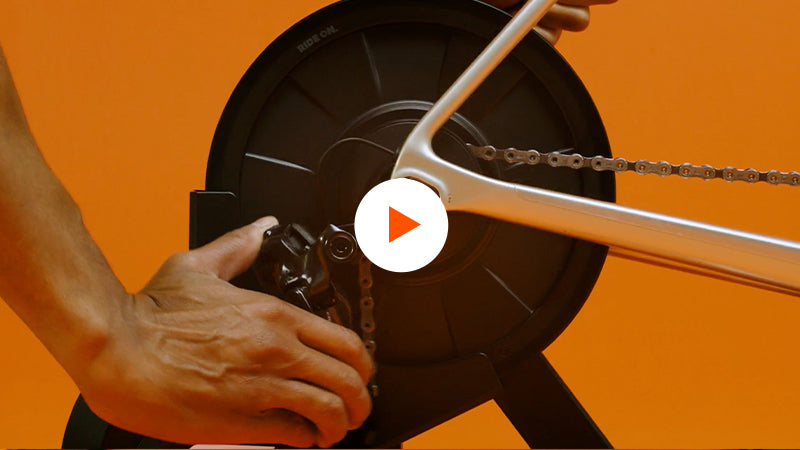

Video 3 of 6
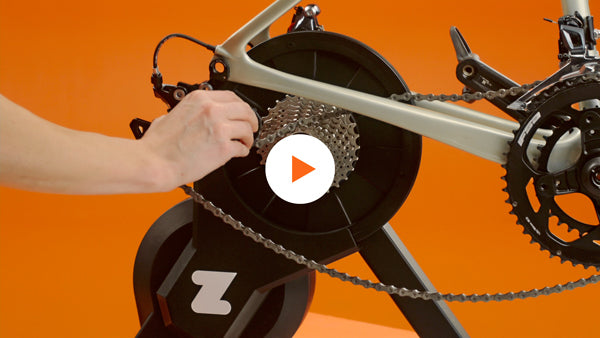
MOUNTING YOUR BIKE ON ZWIFT HUB
After assembling the Zwift Hub, it’s time to mount your bike on the Zwift Hub.

Video 4 of 6
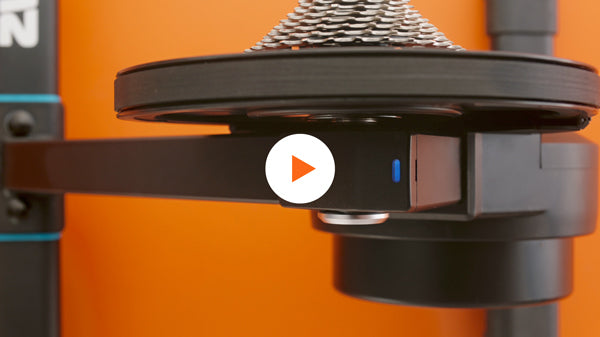
UPDATING FIRMWARE AND PAIRING YOUR ZWIFT HUB
In this setup video we’ll cover how to update your firmware and pair your Zwift Hub.
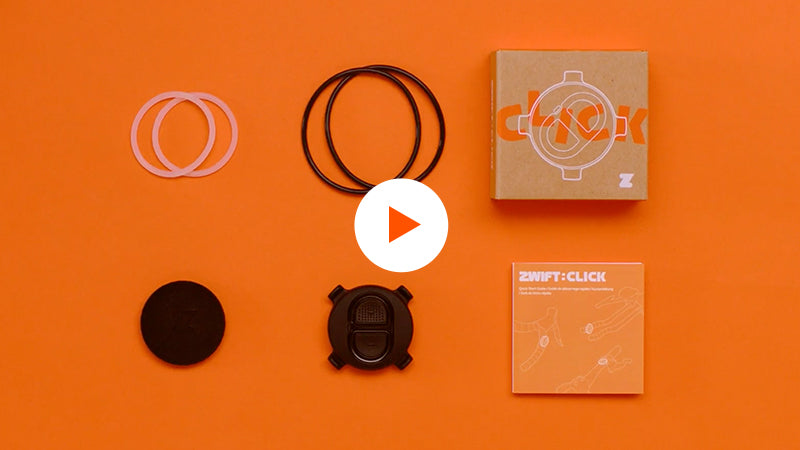

Video 5 of 6
INSTALLING ZWIFT CLICK
After you have assembled your Zwift Hub and mounted your bike, it’s time to set up your Zwift Click.
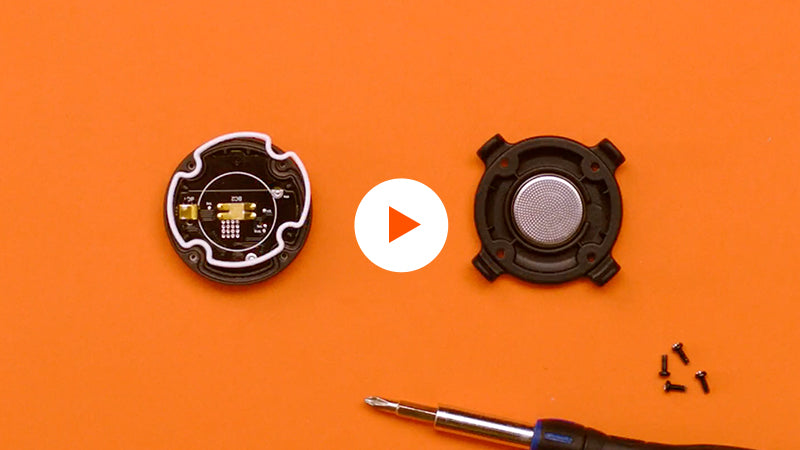

Video 6 of 6
REPLACING YOUR ZWIFT CLICK BATTERY
Now that you have set up and installed yor Zwift Click, we’ll show you how to replace your Zwift Click battery.